System Center Essentials Plus 2010 Suites provide a unified virtualization, IT management, and data protection solution for midsize businesses. The suites help customers reduce costs, gain better control, and simplify the complexity of the virtual and physical IT environment.
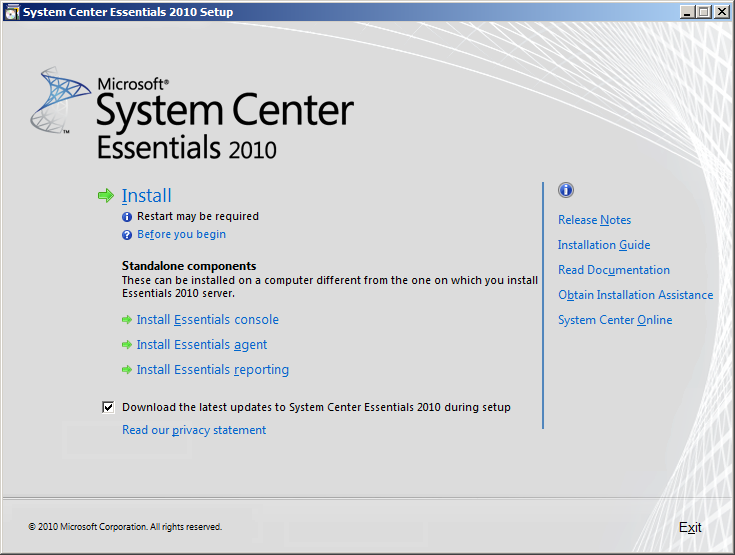
Double-click on the setup file on the DVD. Click on Install
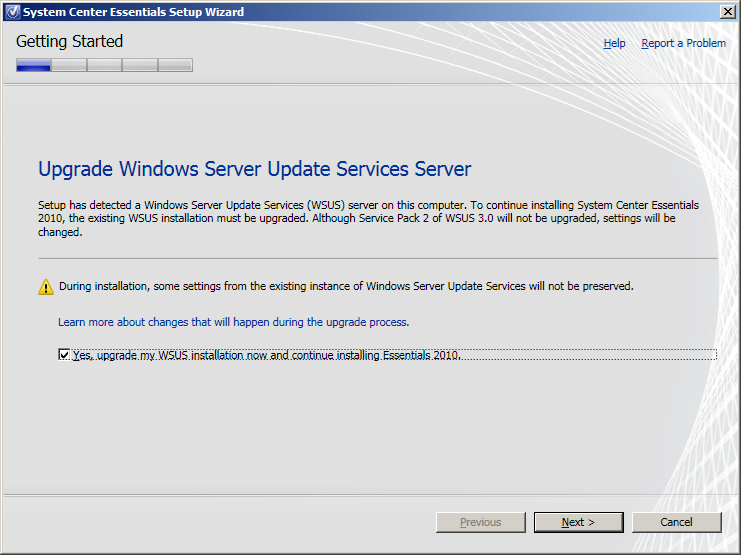
If WSUS already installed in the system SCE will ask for the update if necessary.
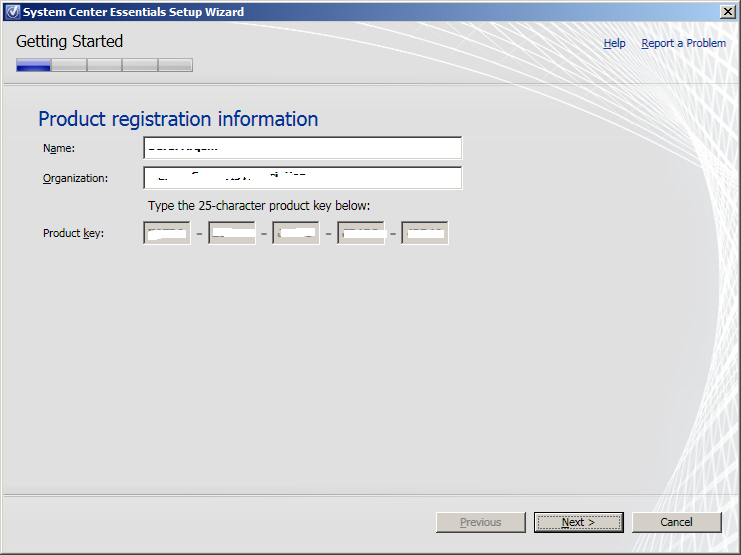
Enter the Product registration details along with the product Key
Agree the Microsoft License Agreement
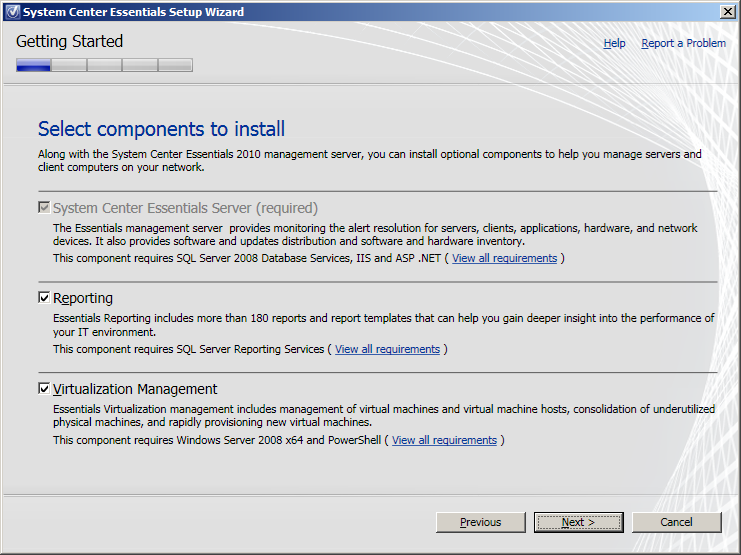
Select the components which are necessary for the environment. If Virtual servers are not in the environment unselect the virtualization management which reduces lot of space.
SCE will check prerequisites in the environment to install
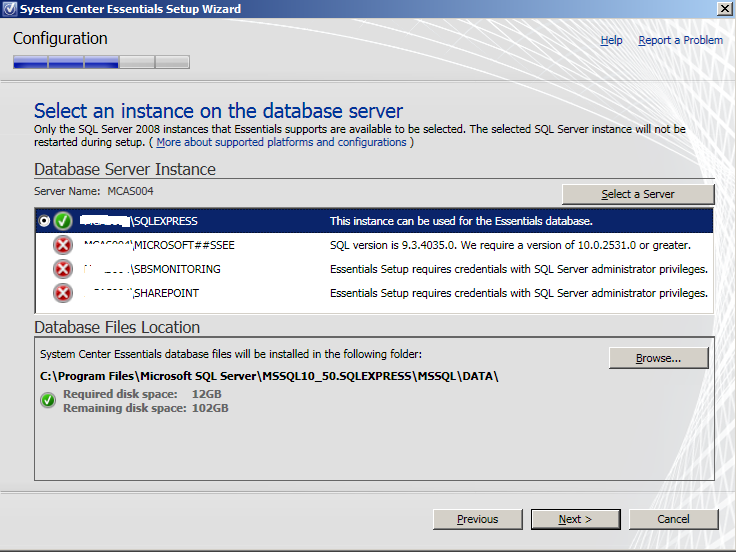
Checking the Database instance if its already there. Otherwise install the MS SQL Express

Select the instance if the system prompts or select any other database servers to create the instance
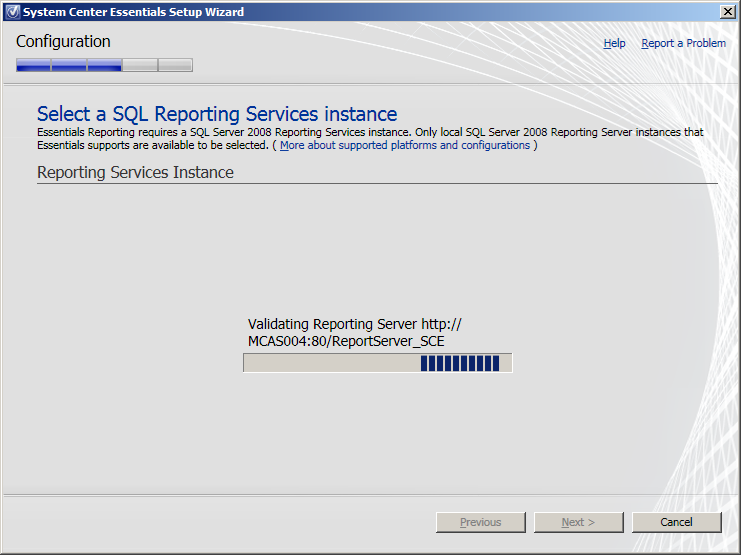
SCE checks for the Reporting services instance installation.
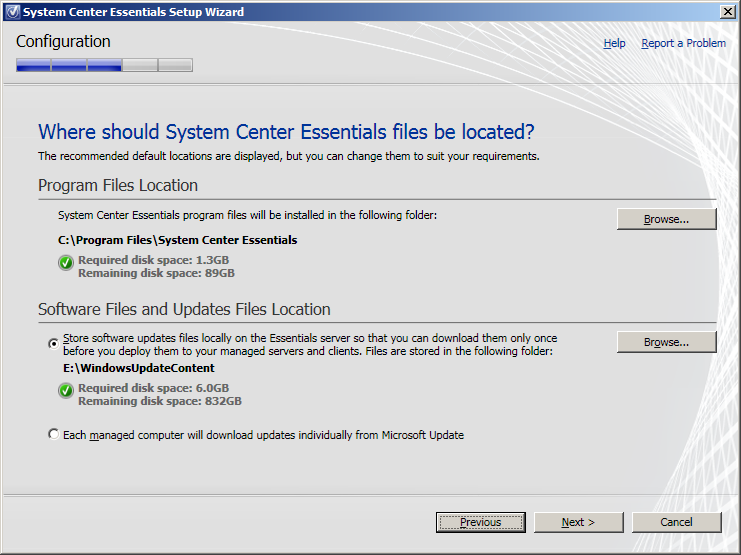
Select the default locations and click next
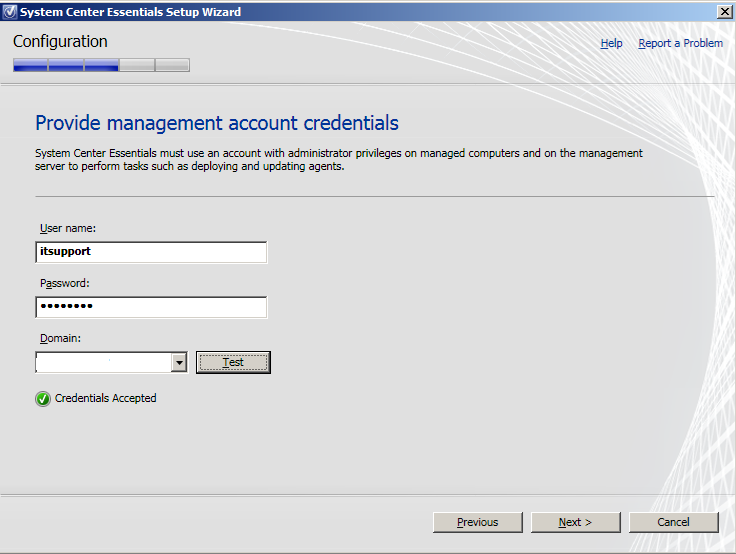
Provide the management account details and test the account is valid.
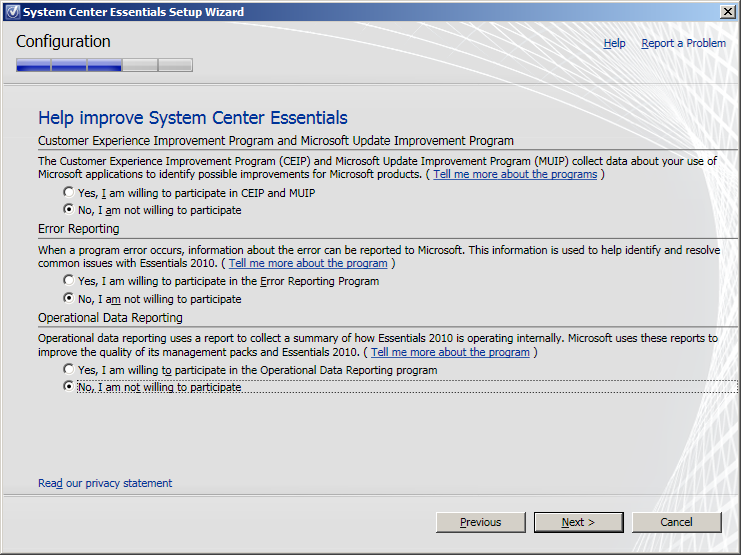
Select the default settings and click next
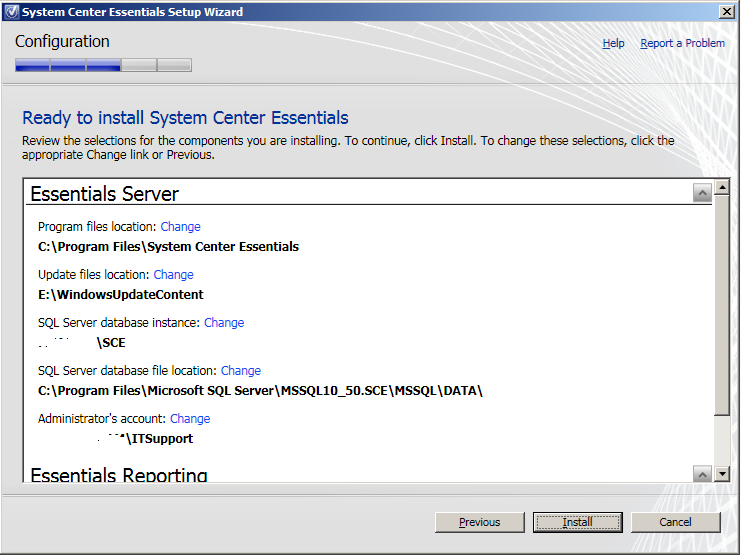
Verify the settings once more and click Install.
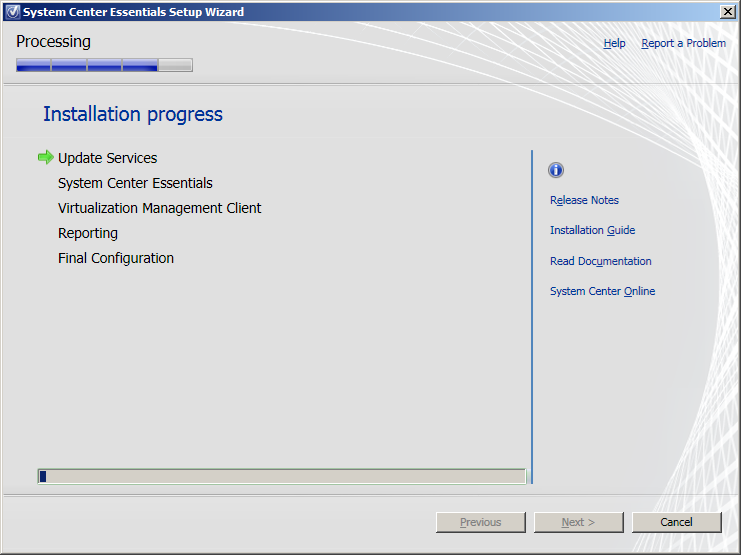
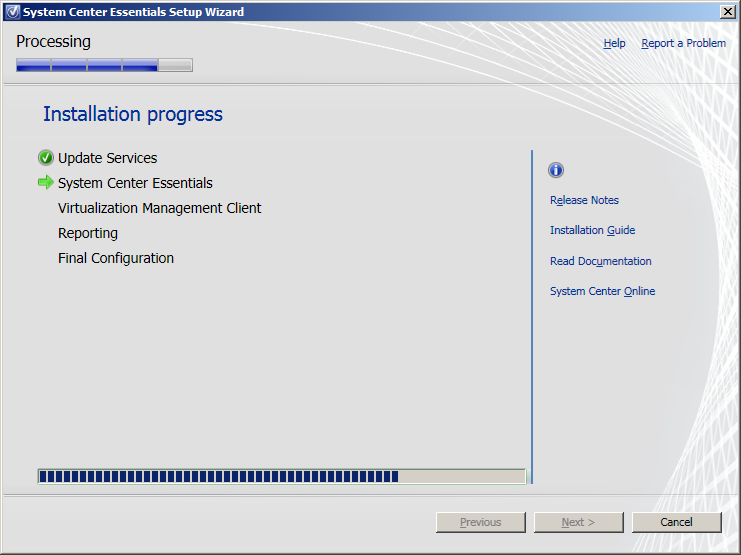
SCE starts installing. It will take few minutes
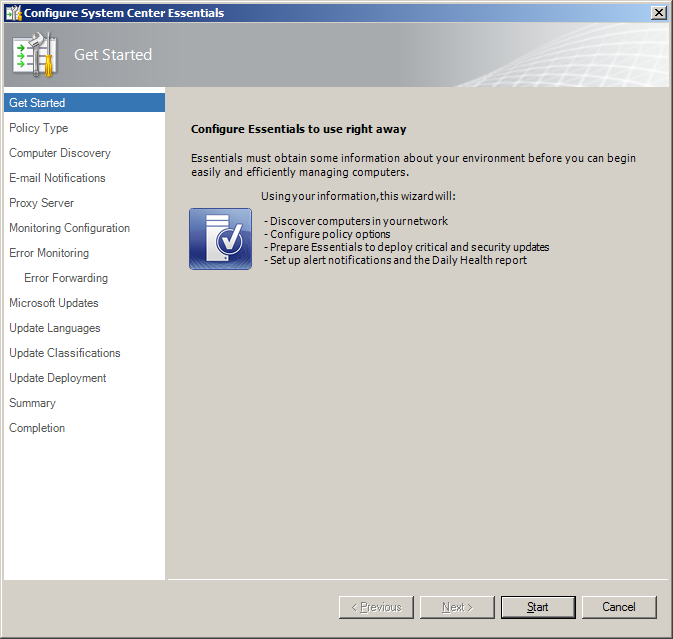
After the installation is over SCE opens the console for the configuration.

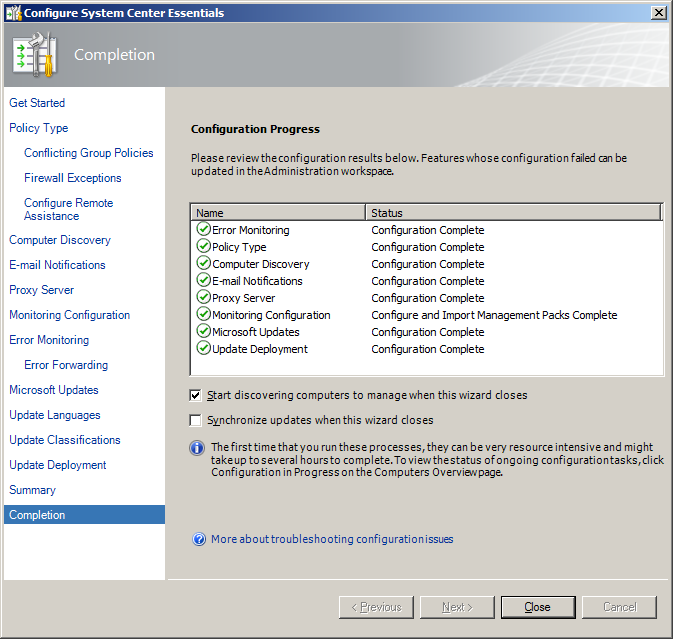
Configure System Centre Essentials.
- Click start button for the configuration wizard
Continue with Domain GPO for configuration,
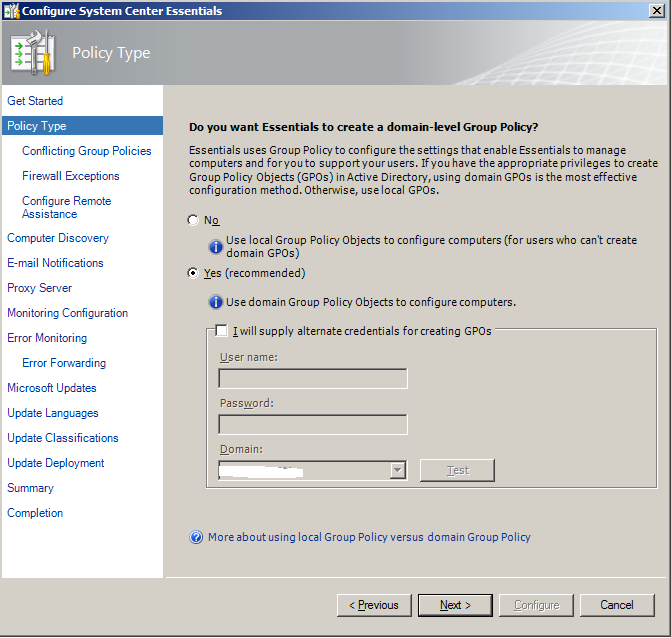
Configure Group Policies

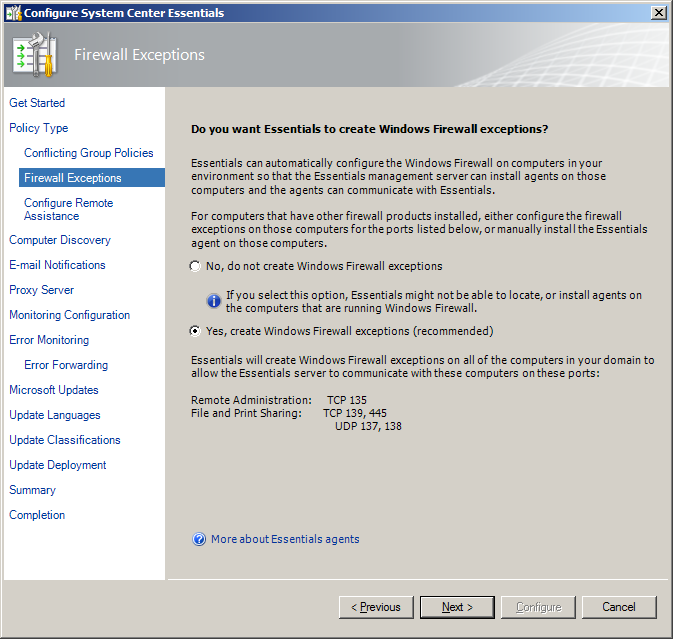
Create windows firewall exceptions
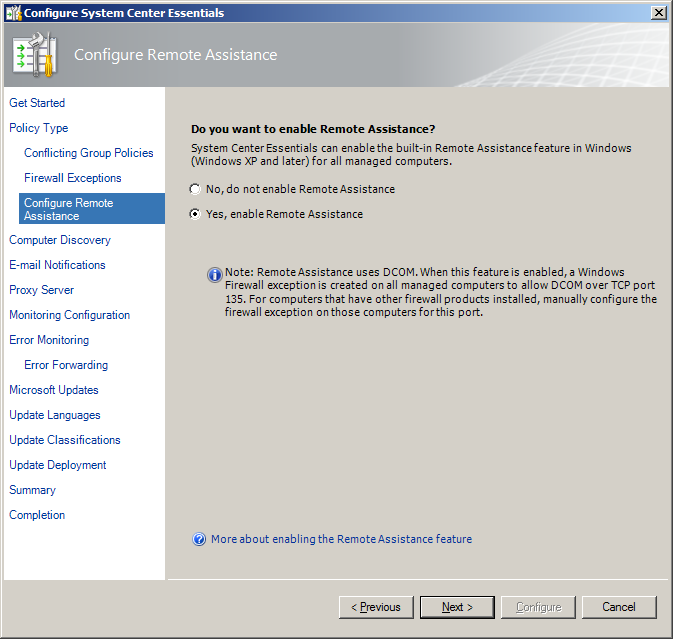
Enable remote remote assistance
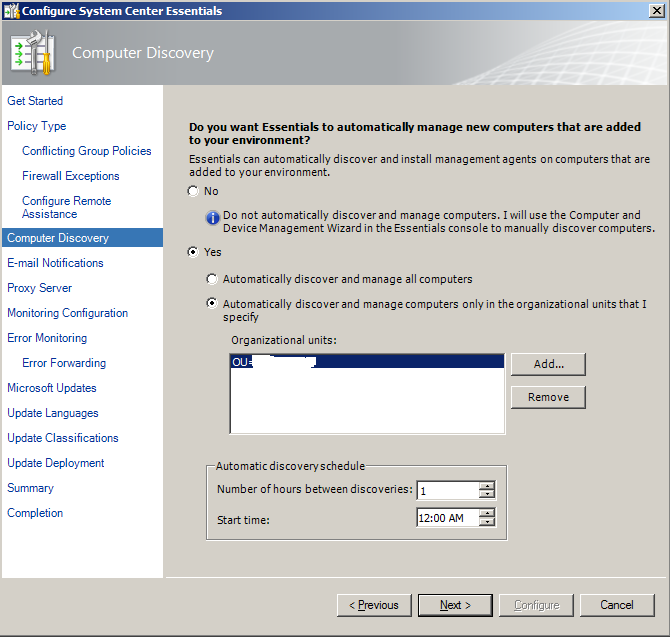
Automatically discover and Manage computers
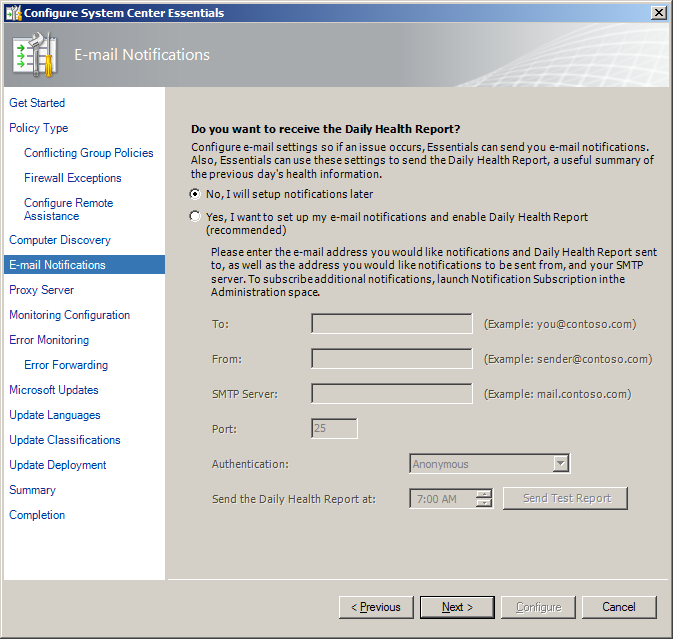
Create email notification now or later
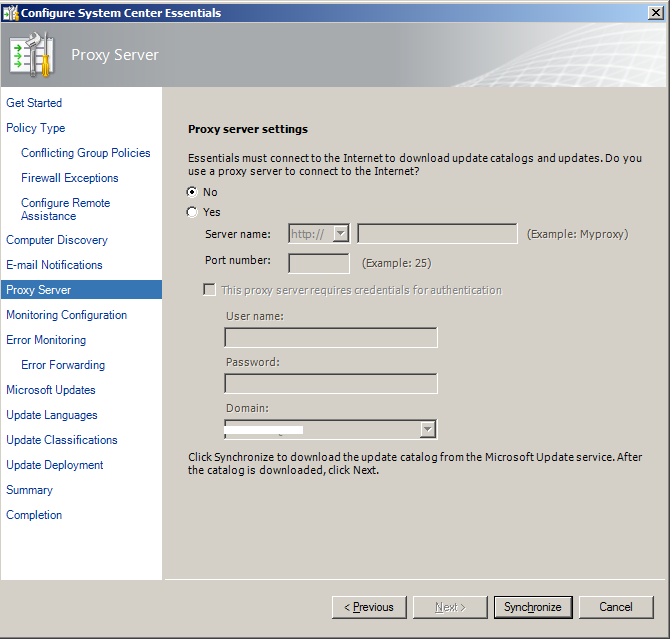
No proxy server in my environment, choose in accordance with your environment
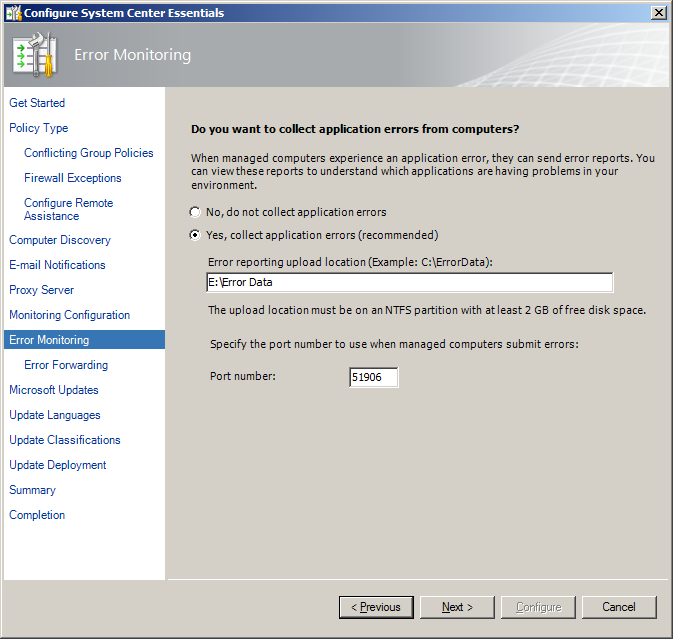
Select the location to collect error message
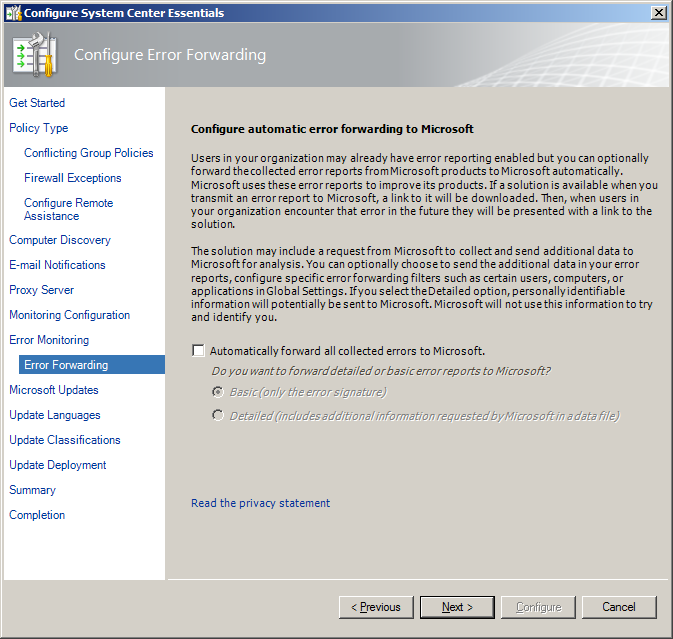
I am not automatically forwarding errors to microsoft.
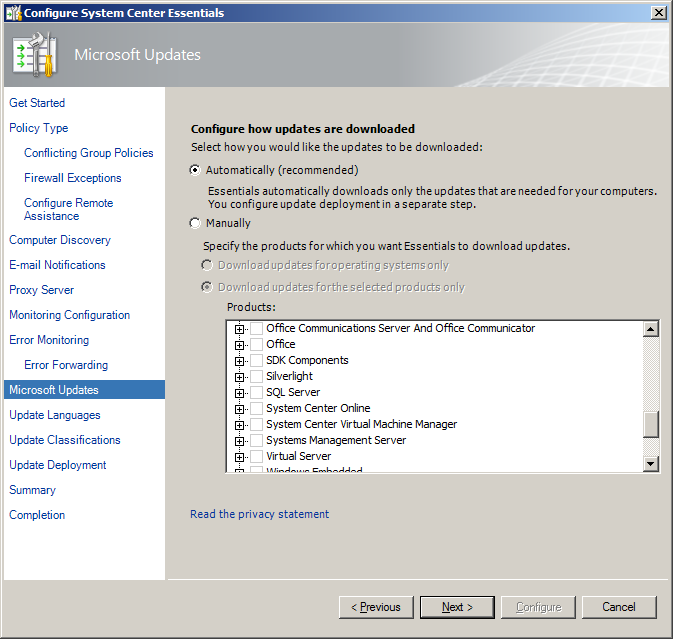
Configure automatic updates. follow the policy of your company if auto updates are not allowed
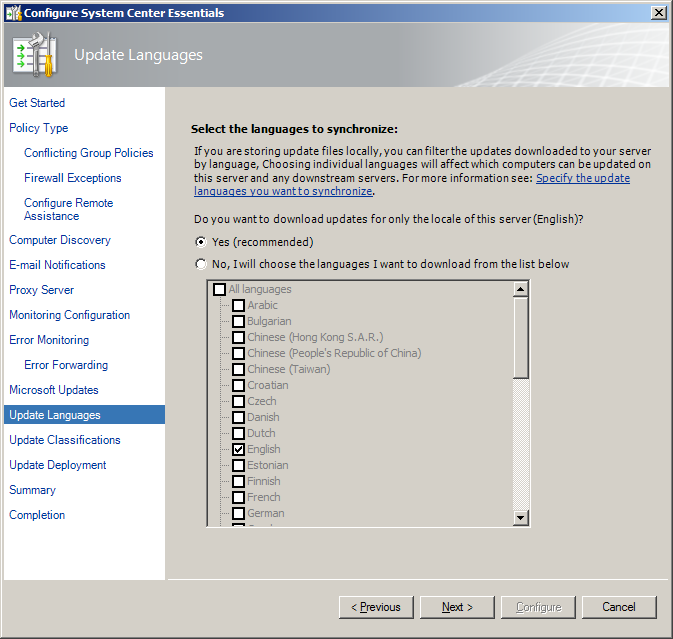
Choose languages based on the requirements
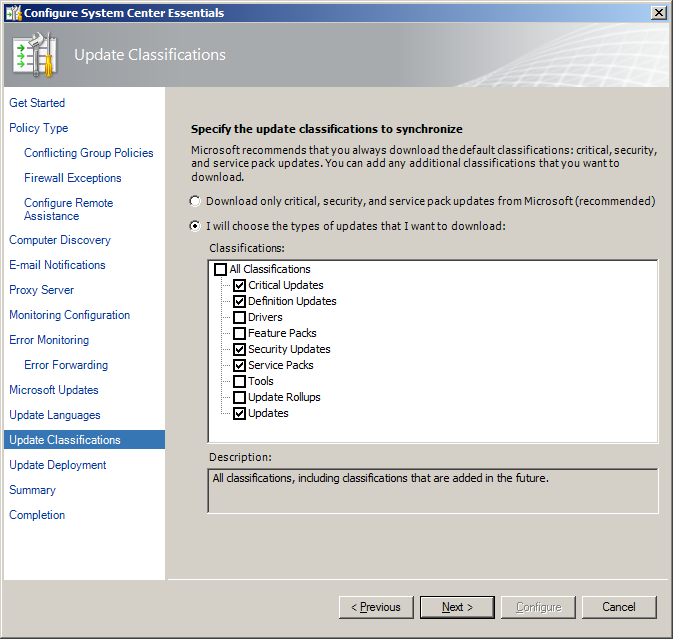
Specify update classification
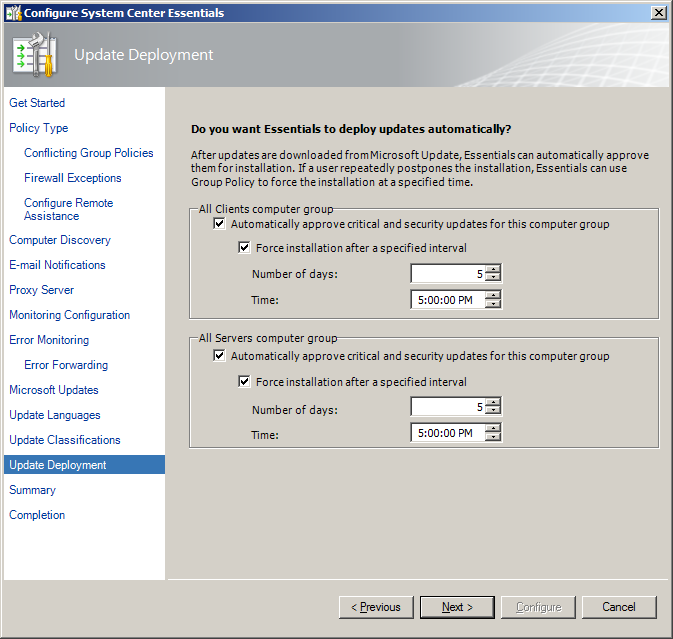
Deploy the updates automatically and specify the timing
Summary
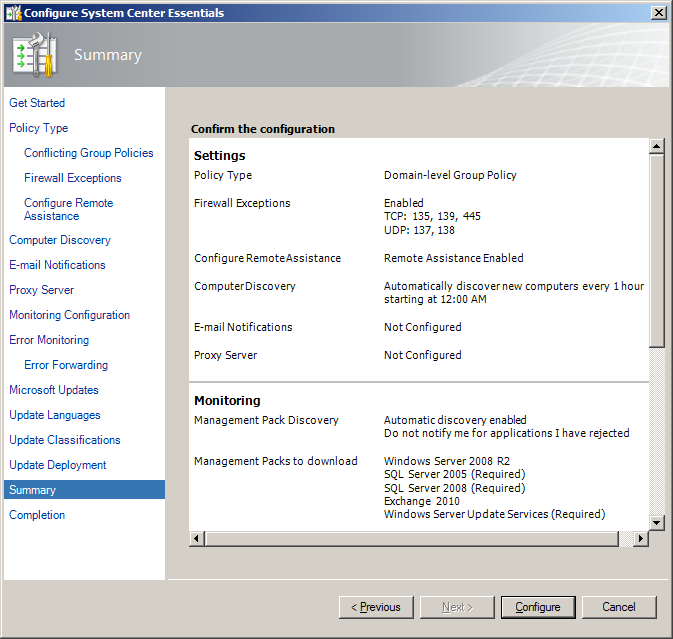
Make sure there are no error in installation